
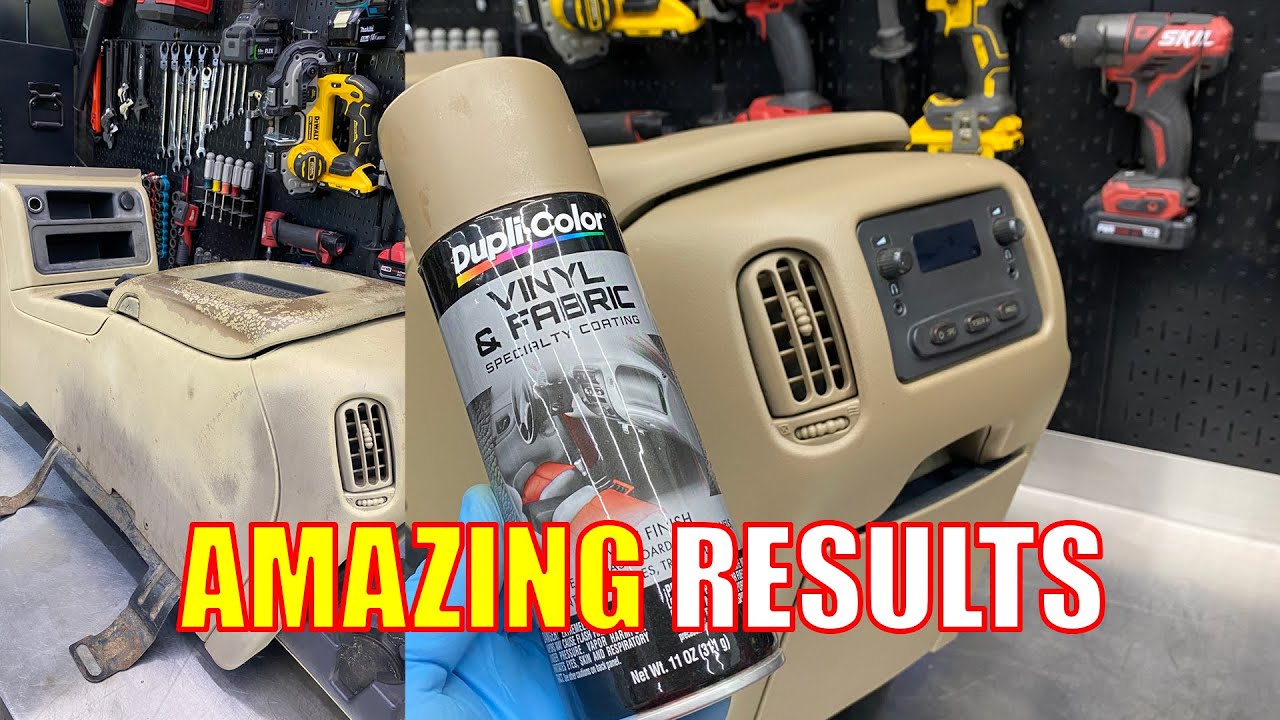
To dye plastic car interior parts, use a specialized plastic dye and follow the manufacturer’s instructions. Ensure the surface is clean before application for best results.
Revamping the interior of your car can breathe new life into your vehicle, offering a custom aesthetic that reflects your personal style. With the right materials and a bit of patience, dyeing plastic car interior parts is a manageable DIY project that can transform the look of your car’s cabin.
It’s an affordable alternative to a complete overhaul, allowing car enthusiasts to personalize the colour scheme of their vehicle’s interior. Preparing the plastic surfaces properly and selecting high-quality dyes are critical steps to achieving a lasting, vibrant finish. This simple yet effective modification can significantly upgrade your car’s interior without the need for costly replacements or professional services.
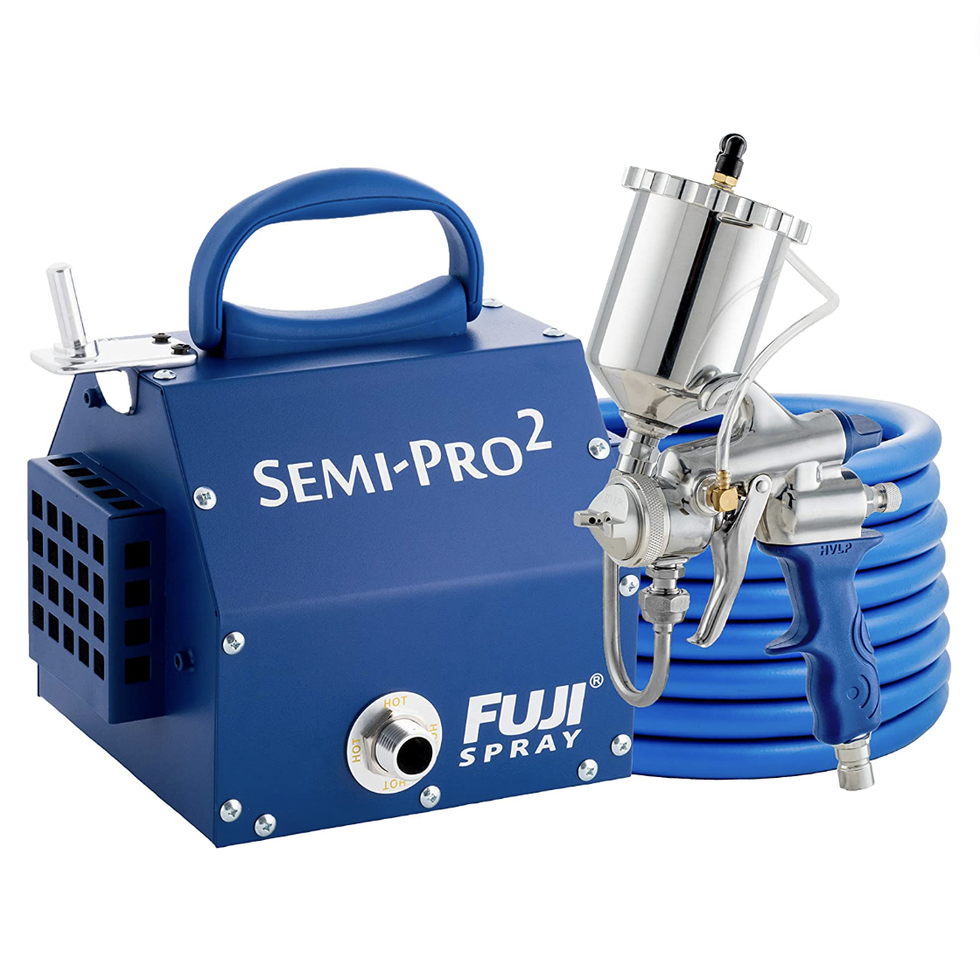
Table of Contents
The Allure Of Customizing Car Interiors
The allure of customizing car interiors resonates with those who see their vehicle as an extension of their personality. Beyond the standard features that come with a car, personalization offers a unique way to make a statement. Transforming a car’s interior with dyed plastic parts can bring a fresh and exciting vibe to the driving experience.
A Personal Touch Dye Genuine Plastic Car Interior Parts
Adding colour to car interior parts is like signing a work of art. It reflects individual style and preferences. Bold colours can infuse energy, while subtle tones might enhance sophistication. Consider these benefits:
- Expression of personal style and creativity
- Matching the interior with the exterior for a cohesive look
- Variety of dye colours to choose from, ensuring uniqueness
Enhancing Vehicle Value
Custom interiors don’t just turn heads; they can turn investments into profits. A well-executed customization can boost a car’s resale value. Remember:
- Quality dyes and professional application preserve the interior’s condition
- Customizations can make a vehicle stand out in the resale market
- Attention to detail can attract buyers looking for a unique car
Choosing The Right Dye Genuine Plastic Car Interior Parts For Your Project
Choosing the right dye for your car interior project is crucial. It’s the difference between a sleek, professional finish and a DIY disaster. Your car’s interior deserves the best treatment, so understanding the types of dyes available and how to select the perfect colour is key to achieving a look that turns heads.
Types Of Dyes
Various dyes suit plastic car interior parts. Each type has its benefits. Consider these options:
- Water-Based Dyes: Easy to use and clean up, but may require multiple coats.
- Solvent-Based Dyes: Durable and long-lasting, perfect for high-contact areas.
- Vinyl Dyes: Specifically designed for vinyl surfaces, they bond well and resist cracking.
Colour Selection Tips
Choosing the right colour can enhance your car’s interior. Follow these tips:
- Match the dye colour with the existing interior for a seamless look.
- Consider using a colour wheel to find complementary shades.
- Test the dye on a small, hidden area first to ensure satisfaction with the result.
Preparation: The Key To Lasting Results
Imagine stepping into your car and being greeted by a custom, vibrant interior that reflects your style. Dyeing plastic car interior parts can achieve this transformation. Yet, the secret to a flawless and enduring finish lies in meticulous preparation. Properly prepping your car’s plastic surfaces ensures the dye adheres well and stands the test of time. Let’s dive into the key steps that will set you up for success.
Cleaning The Surface
Cleanliness is crucial before starting the dyeing process. Begin with a thorough wipe-down to remove dust, dirt, and grime.
- Use a mild detergent mixed with water.
- Apply the solution using a soft cloth or sponge.
- Rinse with clean water to avoid soap residue.
- Dry the surface completely with a lint-free towel.
For areas with stubborn stains or grease, use a specialized plastic cleaner. This ensures the dye bonds well to the plastic.
Sanding For Better Adhesion
After cleaning, sanding is the next critical step. Sanding creates a rough surface for the dye to cling to.
- Choose fine-grit sandpaper, around 400 to 600 grit.
- Sand the surface gently in a circular motion.
- Ensure even coverage to avoid patchy dye application.
Once sanded, remove all dust with a tack cloth. This prepares the plastic for a smooth and even dye application.
Safety First: Protecting Yourself And Your Environment
Revamping your Dye Genuine Plastic Car Interior Parts job can be exciting. Yet, it’s crucial to prioritize safety. Proper precautions ensure a successful project without harm to you or your surroundings. Let’s dive into the key safety steps for dyeing plastic car interior parts.
Ventilation And Respiratory Gear
Good ventilation is essential when working with dyes and chemicals. It prevents the buildup of fumes that can be harmful if inhaled.
- Work in a well-ventilated area, preferably outdoors.
- If indoors, open windows and use fans to circulate air.
Wearing the right respiratory gear is just as important. A high-quality mask filters out particles and vapours.
- Choose a mask rated for chemical fumes.
- Ensure it fits snugly over your nose and mouth.
Avoiding Spills And Stains
Spills and stains can ruin surfaces and pose a cleaning challenge. Here’s how to avoid these mishaps:
- Use drop cloths or old newspapers to cover your workspace.
- Wear gloves to protect your hands and prevent fingerprints on car parts.
- Keep dye containers sealed when not in use.
- Transfer dyes with care to avoid splashing.
Immediate cleanup is key for any spills. Use a cloth to blot spills and prevent the dye from setting in.
Step-by-step Guide To Dye Genuine Plastic Car Interior Parts
Revamping your car’s interior doesn’t have to be expensive or time-consuming. With the right materials and a bit of patience, you can transform the look of your plastic interior parts. This step-by-step guide will walk you through the process of dyeing your car’s interior parts, ensuring a fresh and customized look.
Applying The Dye
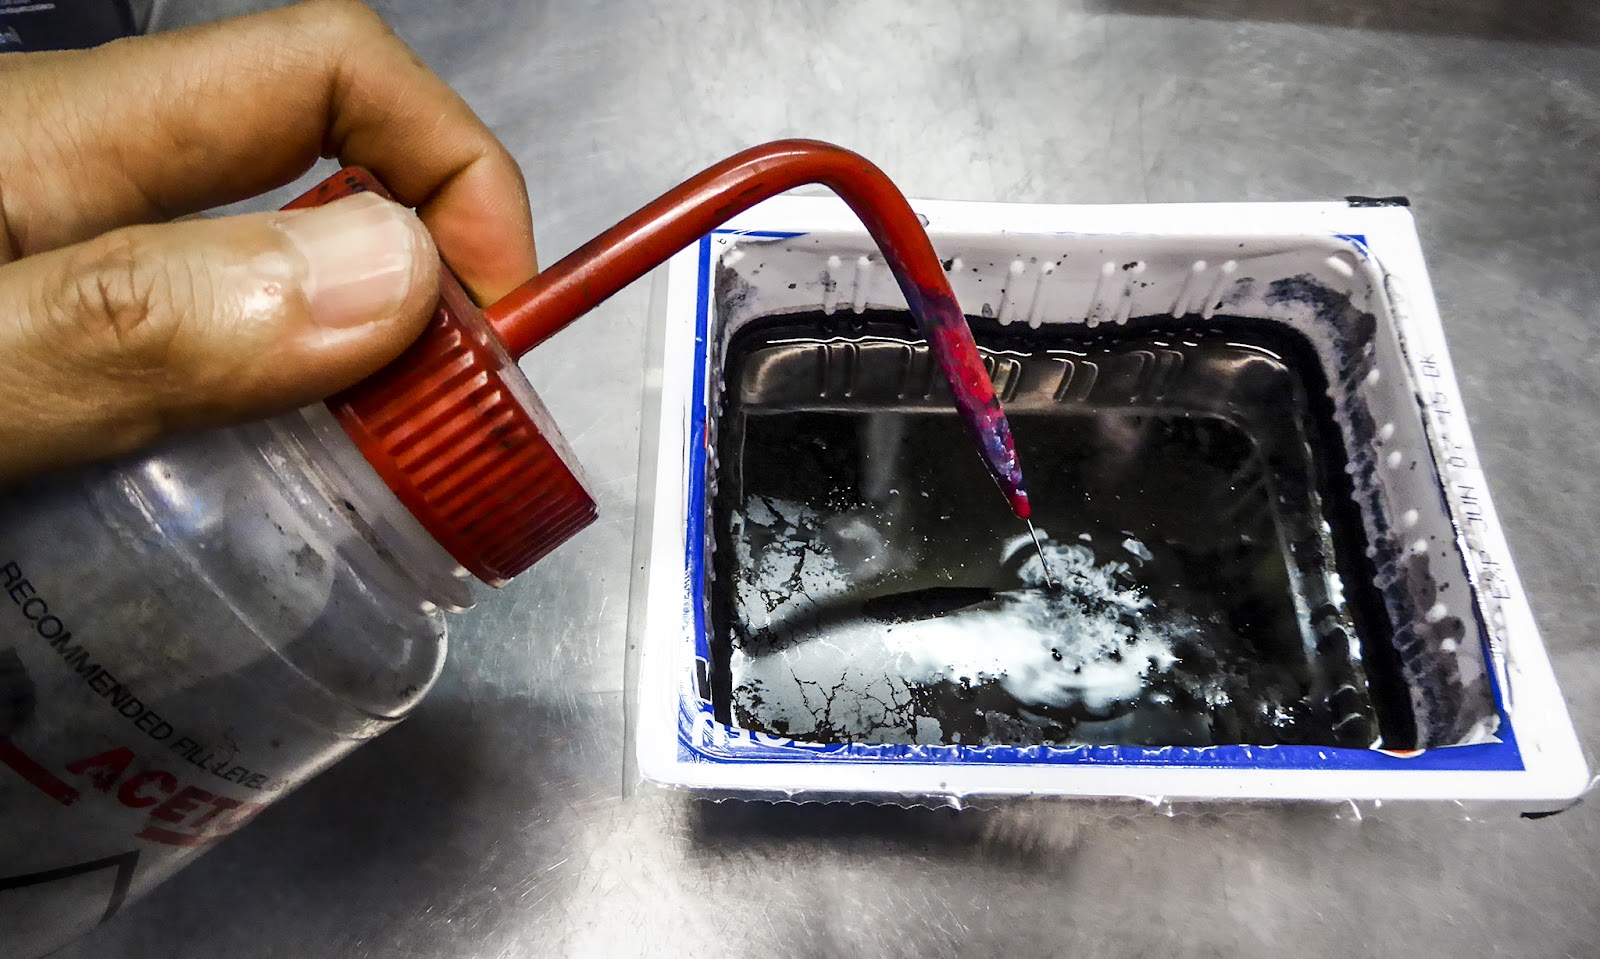
Before you start, make sure you have your dye, gloves, and a well-ventilated area. Clean the parts thoroughly and let them dry completely. Here’s how to apply the dye:
- Prepare the work area by laying down newspapers or a drop cloth to protect surfaces.
- Shake the dye bottle well to mix the contents.
- Apply a thin coat of dye using a sponge or brush, working in one direction for an even finish.
- Avoid excess dye as it can pool and create an uneven surface.
- Repeat with additional coats if necessary, allowing time for drying between layers.
Drying And Curing Time
Patience is key! After applying the dye, the drying and curing process is crucial for a long-lasting finish. Follow these tips:
- Let the part dry for at least an hour before touching.
- Wait 24 hours before reassembling or using the parts to ensure complete curing.
- Avoid exposing the parts to sunlight or moisture during the curing period.
By following the proper drying and curing times, you’ll achieve a professional and durable result.
Troubleshooting Common Dyeing Challenges
Troubleshooting Common Dyeing Challenges can turn your car interior customization into a smooth ride. Whether it’s your first time dyeing plastic parts or you’re experienced, issues can pop up. Let’s tackle some typical problems and steer towards vibrant, lasting results.
Uneven Coating Issues
Dye Genuine Plastic Car Interior Parts should result in a sleek, consistent finish. Uneven coating can be a road block. Follow these steps for a smooth journey:
- Clean thoroughly: Dirt or oils prevent dye from sticking evenly.
- Sand the surface: A lightly sanded surface helps the dye adhere better.
- Apply multiple thin layers: Thick layers can cause drips and unevenness.
- Use the right tools: High-quality sponges or sprays make a big difference.
Dye Fading Over Time
Dye fading dims your car’s interior sparkle. Keep the colour vibrant with these tips:
- Use UV-resistant dye: Protects against sunlight damage.
- Apply a topcoat: Seals in the dye for a longer life.
- Avoid harsh cleaners: They can strip the dye away.
- Regular maintenance: Quick touch-ups preserve the colour.
Remember, patience is key. Let the dye dry completely between coats, and always test a small area first. With these tactics, your car’s interior will stay looking sharp and fresh.
Maintenance Of Dye Genuine Plastic Car Interior Parts
Maintenance of Dyed Interior Parts is crucial after customizing your car’s interior with a fresh dye job. Proper care ensures longevity and the vibrant appearance of your car’s aesthetics. Explore ways to keep dyed plastic parts in top condition.
Regular Cleaning
Keeping your dyed interior parts clean is essential. Dirt and grime can cause colors to fade. Use a soft cloth and gentle cleaner. Avoid harsh chemicals that can strip the dye. Wipe surfaces gently to prevent scratches.
- Choose mild cleaners designed for automotive interiors.
- Use a microfiber cloth to avoid leaving scratches.
- Avoid soaking the parts as excessive moisture can damage them.
Protecting From UV Damage
UV protection is key to preventing fading. Sunlight can be harsh on dyed plastics. Use UV protectant sprays designed for car interiors. Apply them regularly for an added layer of defence against the sun’s rays.
| Step | Action |
| 1 | Clean the surface. |
| 2 | Apply UV protectant evenly. |
| 3 | Buff with a microfiber cloth. |
Keep your car parked in shaded areas when possible. Use window shades to block direct sunlight. Reapply protectant every few months or as needed.
Showcasing Your New Interior
Transforming your Dye Genuine Plastic Car Interior Parts with a fresh dye job not only revives its appearance but also reflects your unique style. Embrace the excitement as you get ready to showcase your car’s new interior. With a splash of colour and a touch of personal flair, your vehicle’s cabin can become a statement piece that impresses both you and your passengers.
Before And After Photos
They say a picture is worth a thousand words, and before and after photos are the perfect way to highlight your car interior’s transformation. Capture the original look of your car’s interior from multiple angles. After you’ve applied the dye, take similar photos to showcase the change. Use these side-by-side comparisons to exhibit the stark contrast and the meticulous work you’ve put into your project.
- Take clear and well-lit photos
- Ensure angles are consistent
- Showcase detailed areas for a closer look
Sharing On Social Media
Once you’ve captured the stunning transformation, share your success on social media. Social platforms are ideal for reaching fellow car enthusiasts who can appreciate your hard work. Use popular hashtags related to car customization to increase visibility. Encourage your friends and followers to like, comment, and share your post. This not only celebrates your achievement but also inspires others to embark on their own car interior dye projects.
- Choose the right platform for your audience
- Use hashtags like #CarInteriorMakeover
- Engage with your community’s feedback
Frequently Asked Questions
Can You Dye Plastic Car Interior?
Yes, you can dye plastic car interiors using specialized plastic dye or automotive spray paint designed for plastic surfaces. Ensure you clean and prep the area thoroughly before application for best results.
Can I Paint Plastic Car Interior Parts?
Yes, you can paint plastic car interior parts. Clean the surface, sand lightly, apply a plastic primer, and then paint with a product designed for plastic. Seal with a clear coat for durability.
Can You Permanently Dye Plastic?
Yes, you can permanently dye plastic using specialized dyes designed for plastic or by applying a primer and paint specifically made for plastic surfaces.
Can You Dye Vinyl Plastic?
Yes, you can dye vinyl plastic using specialized vinyl dye products designed for adhering to plastic surfaces. Ensure you follow the product instructions for the best results.
Conclusion
Revamping your car’s interior with a fresh dye job can transform its appearance and add a personal touch. By following the steps outlined, you’ll achieve professional results that breathe new life into your vehicle. Remember, patience and attention to detail are your allies in this DIY project.
Drive in style with your newly customized interior!